Time-lapse videography offers a unique way to capture the movement of time. Professionals and enthusiasts alike are drawn to it for its ability to compress lengthy sequences into digestible, visually compelling clips. But creating high-quality time-lapse videos requires specific skills and technical know-how.
One must understand which camera settings to use and what tips can make the difference between an average video and an extraordinary one. Let’s explore how to achieve this.
Choosing the Right Equipment
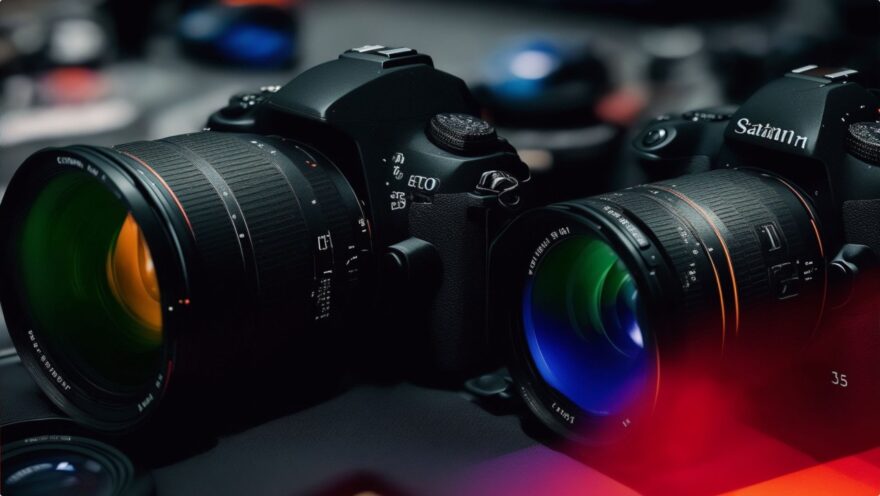
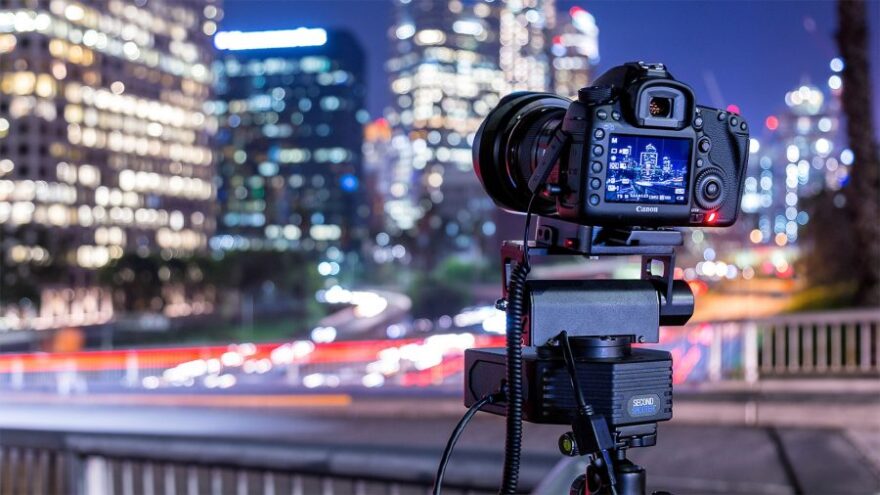
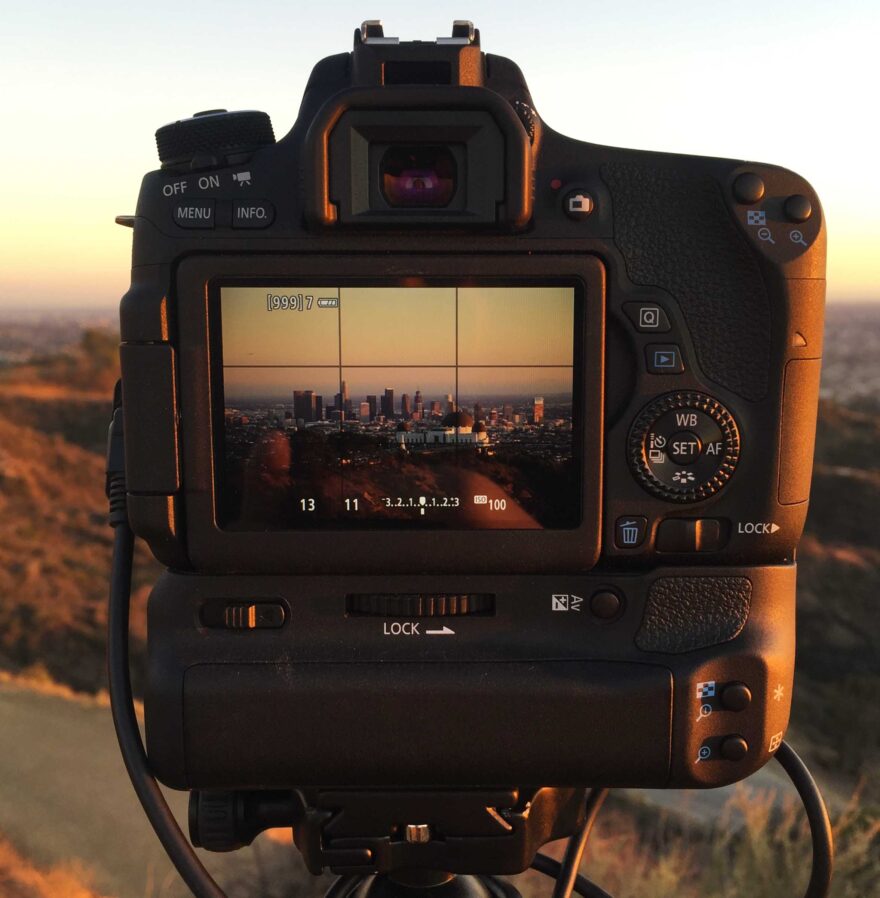
To get started with time-lapse videography, the choice of equipment plays a crucial role. The camera you use must have manual settings, allowing you to control exposure, focus, and ISO. Without this control, you risk inconsistencies that can affect the final outcome of your video. Professional DSLRs and mirrorless cameras are the most reliable for time-lapse work, but some smartphones also come with the capability to capture time-lapse footage, albeit with limited options.
For anyone serious about time-lapse, it’s worth investing in a quality tripod. Even the slightest movement or shake can ruin a sequence. Using a sturdy tripod ensures that your shots remain steady throughout the duration, no matter how long it takes.
If you’re new to time lapse videography and need professional assistance, companies like BlackBox (visit website) provide end-to-end services. They are one of Australasia’s largest and most experienced providers, offering comprehensive support to document large projects.
Interval Settings and Motion
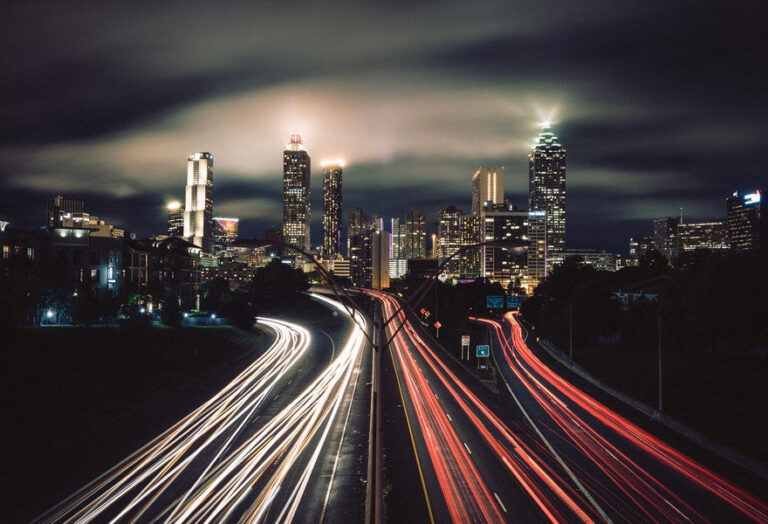
Interval settings determine how often your camera captures a frame. The interval you choose depends on the type of motion being filmed. For fast-moving subjects like clouds, an interval of one to three seconds works well. If you want to capture slower movements, like construction over months, a much longer interval of minutes or hours might be necessary.
The key here is finding the right balance. If you set the interval too long for fast-moving objects, the result will appear too jumpy. Too short for a slow-moving subject, and the video becomes unnecessarily lengthy and tedious to watch. Test different intervals for each project.
Adjusting Exposure, Focus, and ISO
Auto settings can shift unexpectedly due to changing lighting conditions, causing flicker in the final video. Always shoot in manual mode, locking down your exposure settings. Set the aperture and shutter speed carefully. A smaller aperture (higher f-stop) creates a deeper depth of field, ensuring everything in your frame remains in focus. For nighttime time-lapse, use a slower shutter speed to allow more light into the camera.
ISO controls the sensor’s sensitivity to light. Keep it as low as possible to reduce noise, especially when shooting in low-light conditions. In daylight scenarios, an ISO of 100 or 200 usually works best.
Lighting Conditions
Natural light often produces the most dramatic results, but it also changes throughout the day. To maintain consistent exposure, avoid extreme lighting shifts such as moving from broad daylight to dusk in a single sequence. This can cause underexposed or overexposed frames.
Consider using neutral density (ND) filters if you’re filming in bright conditions. These filters reduce the amount of light entering the lens, allowing you to use slower shutter speeds without overexposing the image.
Nighttime time-lapse projects present unique challenges. You’ll need to open up the aperture and slow down the shutter speed to gather enough light. Long exposure settings are critical here but require patience and practice to perfect.
Stability Matters
Any slight movement during the shoot will show up clearly in the final video, ruining the entire project. Wind, vibrations, or even accidental bumps can cause noticeable shifts in your footage.
A solid tripod, preferably with a weighted base, is essential for stability. For long-duration projects, consider using a remote timer or intervalometer to reduce the need for manual intervention. This ensures that once the camera starts capturing, it remains untouched until the end of the session.
Post-Processing and Editing
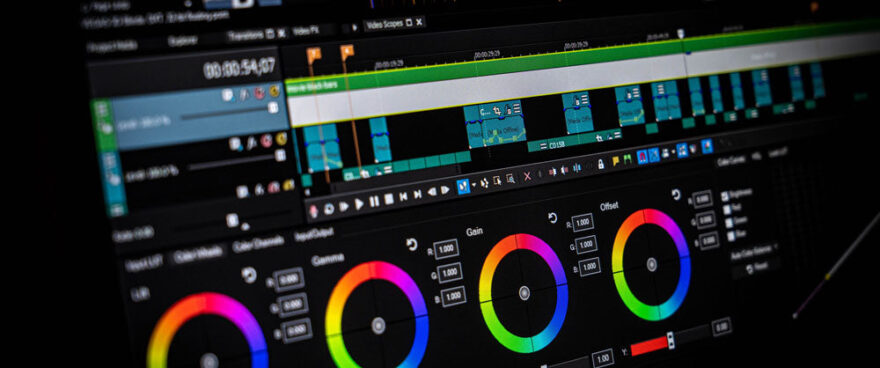
Capturing the footage is only half the process. Post-processing can take your project to the next level. Software like Adobe Lightroom and LRTimelapse are excellent for batch-editing images, allowing you to tweak exposure, color balance, and contrast uniformly across all frames.
Once edited, the sequence can be stitched together into a final video using software like Adobe Premiere or Final Cut Pro. Depending on the length and type of footage, speed adjustments may be necessary to ensure smooth playback.
Avoid Flicker
A common issue in time-lapse footage is flicker, caused by inconsistent exposure settings. While some flicker can be removed during post-processing, the best approach is to avoid it altogether. Manual control over aperture, shutter speed, and ISO settings helps to prevent flicker from occurring in the first place.
Another potential culprit is changing lighting conditions. If you’re shooting a scene over several hours, the light will change naturally. Be aware of these shifts and plan accordingly to avoid unnecessary adjustments in post-production.
Planning for Long Projects
Long-term time-lapse projects, such as documenting construction or landscaping over months, require careful planning. Battery life becomes a concern for extended shoots. Using external power sources or solar panels can keep your camera running for extended periods.
You’ll also need enough storage space. Shooting in RAW format allows for more flexibility in post-processing but consumes more storage. For large projects, invest in high-capacity memory cards or external storage devices to avoid running out of space mid-shoot.
Post-Project Review and Archiving
Once the project wraps up, review all your footage carefully. Archive the original RAW files for future use. Many photographers recommend maintaining a detailed log of the settings used, as well as the intervals and conditions of each shoot. This practice makes it easier to replicate successful shoots or troubleshoot issues in future projects.
Proper archiving also ensures that you can revisit and re-edit projects later on. Over time, your editing skills may improve, allowing you to extract even more value from older footage.
Conclusion
Producing a successful time-lapse video requires more than just setting up a camera and pressing record. A solid grasp of camera settings, along with practical tips, ensures a smooth process from start to finish. Stability, lighting, interval selection, and post-processing all play significant roles in creating the desired final product. By controlling each of these factors, you’ll capture visually compelling time-lapse videos that truly stand out.